Tuesday, January 17, 2006

P.5


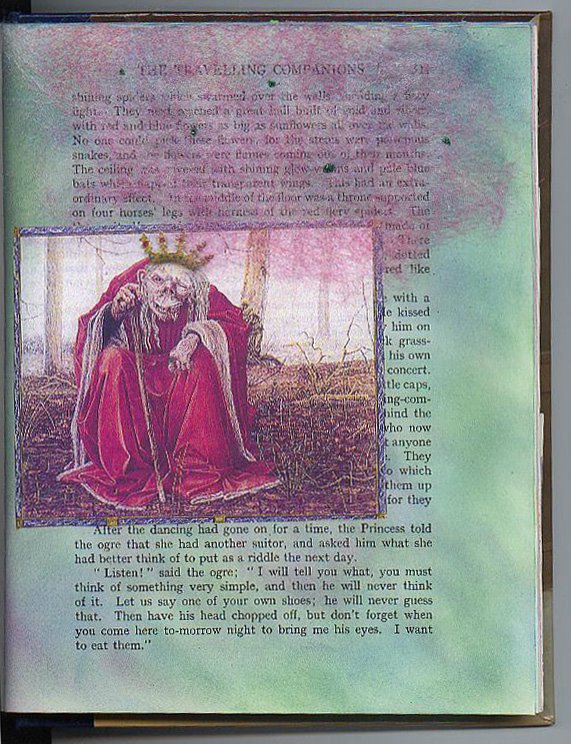
I had the most fun doing this page, although I wish it showed up better in the scan. I found this ogre in a British lit textbook that I had bought for $1 in a library used book sale. He needed a crown to be true to the story, so I made him one, coloring it with a gold StarLightz pen and making "jewels" with other gel pen colors. This gold is the best looking I've found in a gel pen...much shinier than any others I've ever used...and I've tried a bunch! I just glued the picture along the left side, so it can be lifted to read the words underneath. The story says that the ogre was sitting under a canopy made of rose-colored spiderwebs which had tiny green flies embedded in it. To depict this, I pulled apart a used drier sheet that I had dyed with very diluted Golden's Fluid Acrylic in quinacridone magenta. I adhered it along the top of the page with a little thick tacky glue and made the flies with dots of glue covered with green micro-glitter.

P.4


The border for this page was cut from decorative computer paper. The swan was an image I scanned and printed from a Dover book, colored with Prismacolor pencils and added a bit of white micro-glitter on the wings.

P.3


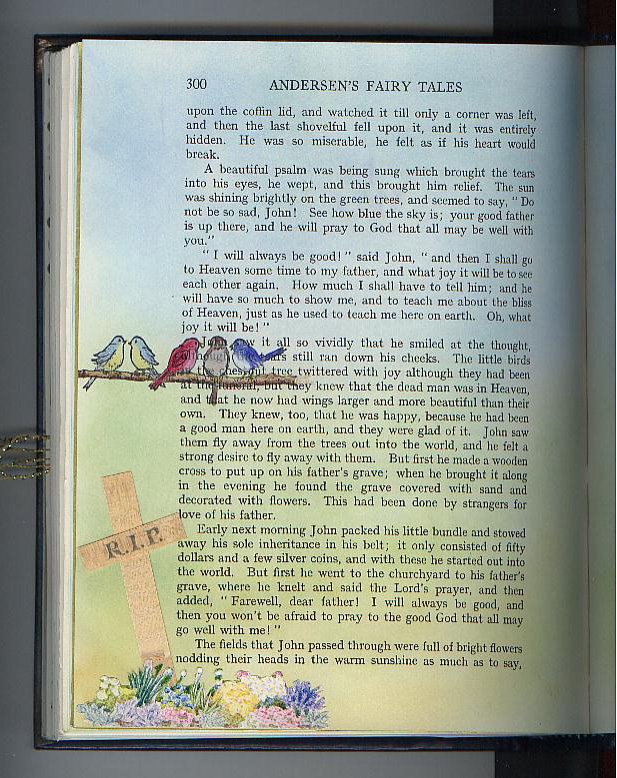
This page told of the burial of the main character's father, so I illustrated that by constructing a cross out of woodgrain paper. The flowers were cut from a gardening magazine and the birds are from a rubberstamp. I used a gray .05 Copic MultiLiner pen to write on the cross. I thought black ink would have been too harsh looking.

Fairy Tale AB - p.2


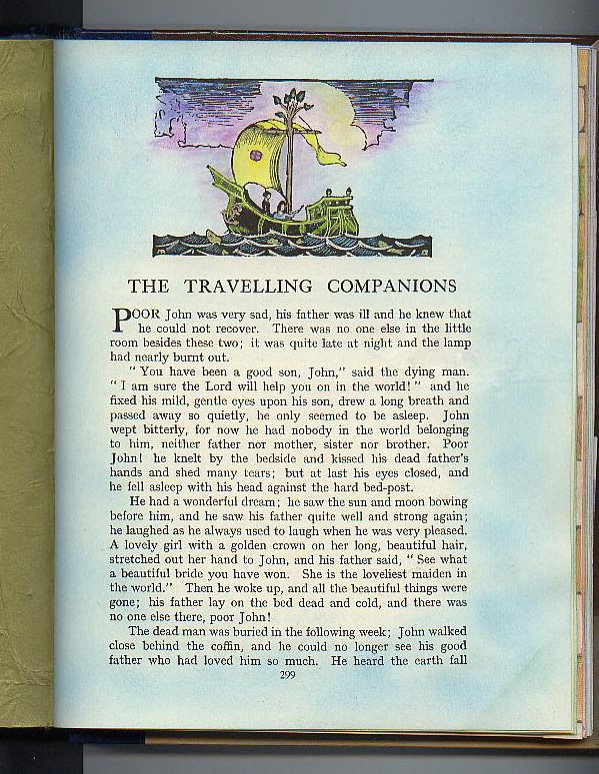
This is the title page of another story in the book, colored just as before.

Altered Book: Andersen Fairy Tales


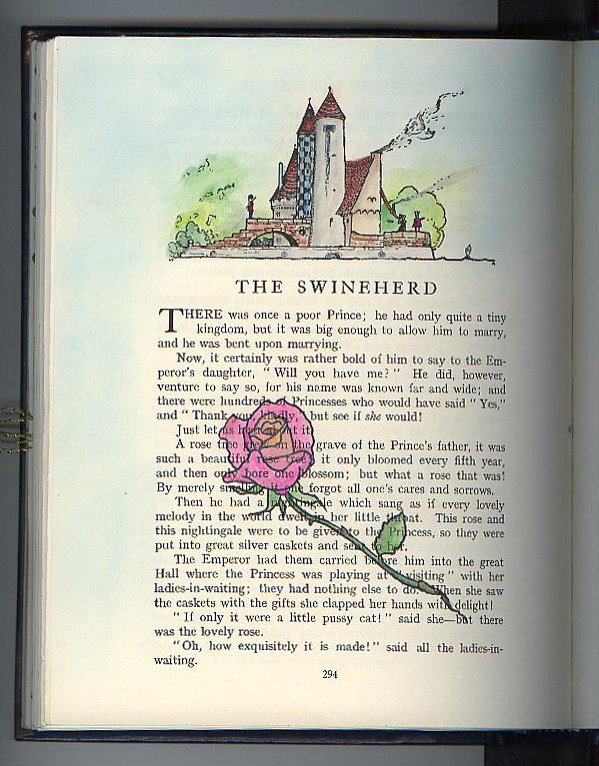
In my Imagine8 art group we have been working on an altered book round robin for the last couple of years. It has taken a long time for the books to make it to everyone because we only meet 4 times a year. These are a few of the pages that I did in Linda's book. I found it to be more of a challenge than I had expected, because I didn't want to cover up the text of the stories. So using acrylic paint as I most often do, was out. Instead, I used sponges to apply rubberstamping inks and found that gave color to the pages without obscuring the words. On this page, I colored the printed illustration at the top with decorator chalks picked up and applied with a Niji waterbrush filled with blending fluid. Then I stamped the rose and colored it the same way, adding a bit of gold Pearl Ex powder for glitz.

Wednesday, December 28, 2005

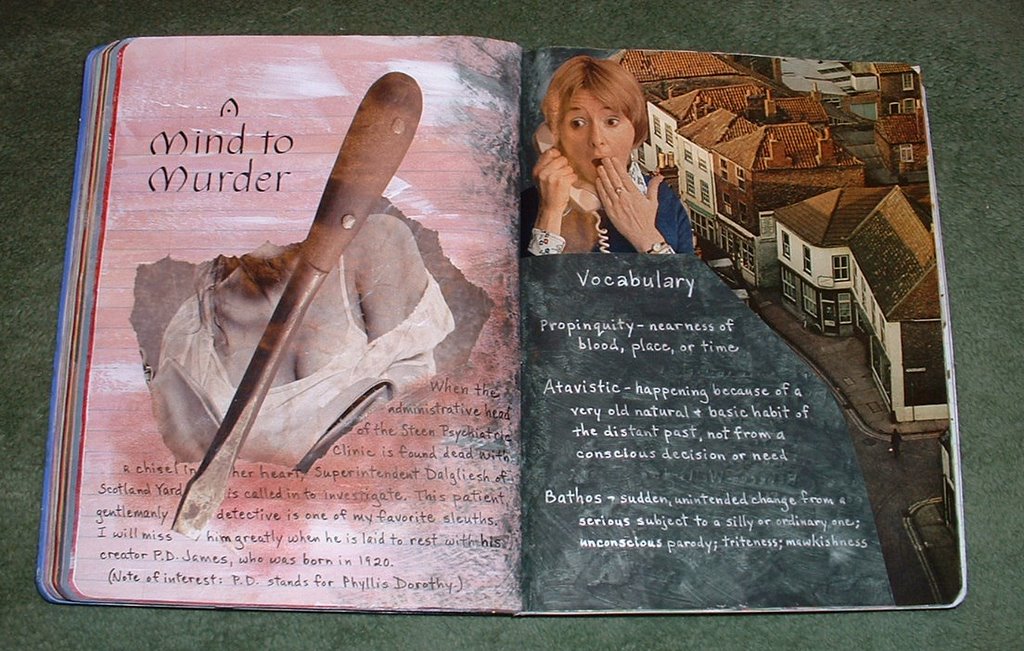
Reading Journal Entry: A Mind to Murder


This is another one of my beloved Adam Dalgliesh mysteries. I'm very fearful that P.D. James may not be writing many more, since she is already 85 years old. Elizabeth George and Deborah Crombie are also authors who have created detectives that seem very human, and I revel in how their sleuths' and extra characters' lives are revealed, bit by bit, as each story unfolds. Unfortunately, I've already read everything they've written, too.

This story takes place in a psychiatric clinic. Dalgliesh is called in when the female administrative head is found with a chisel in her heart. As he questions the staff and patients, he realizes that more than one of them don't mind that she is dead. But of course, he sorts it all out, even turning over what seem like rock-solid alibis.

P.D. James is hailed for writing literary mysteries with intricate plots, complex characters, and an impressive vocabulary. It's no wonder other authors take it as the highest compliment when their work is compared favorably to hers.

Sunday, November 06, 2005

Butterfly Magnet


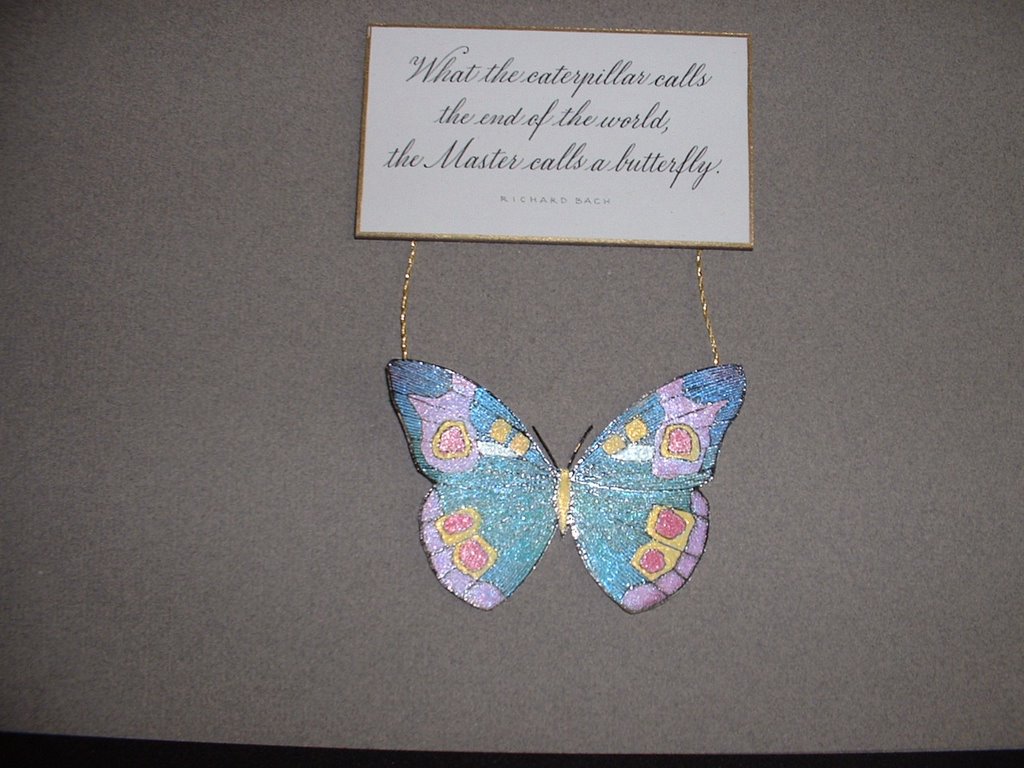
The theme for our Imagine8 special projects this quarter was butterflies. This is one of my very favorite quotes, so I decided to use it to make refrigerator magnets. I wrote it out in the copperplate hand, then reduced it to 50% and photocopied onto cardstock. Each of these was cut out, edged with a Krylon Gold Leafing pen, and adhered to magnetic business cards.

I stamped the butterflies; colored them with Radiant Pearls; and attached the gold threads with Aleene's Thick Designer Tacky Glue. The antennae are made with black embroidery thread stiffened with Elmer's glue.

Chorus Revisited


This is the final rendition of the chorus. Again, I wrote on scrapbooking paper, but instead of coloring in the versals with Gelly Rolls, I filled them in with a Zig Embossing Brush Pen and sprinkled with purple moire embossing powder.

Fifth Verse


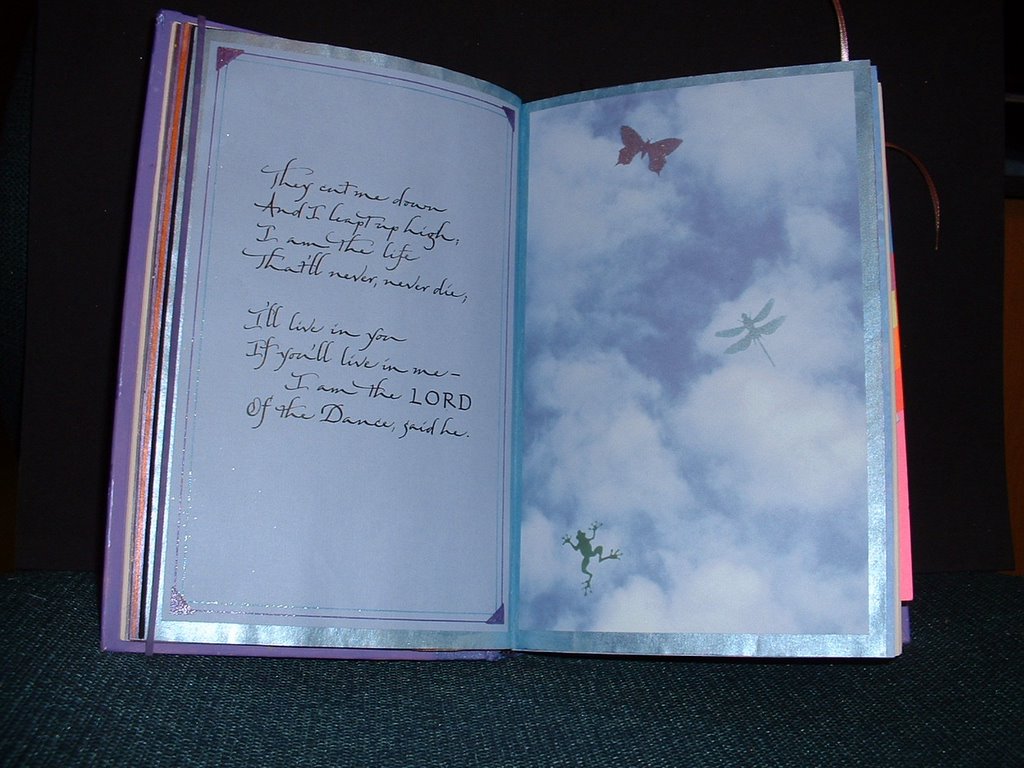
Here again, I began by painting the pages with metallic acrylic paint. I needed a lighter blue than came straight out of the bottle, so I mixed it with some silver. The insects were stamped and embossed on the sky paper, and the leaping froggy was a punch-out that I used as a stencil with sponge dauber and pigment ink.

Fourth Verse


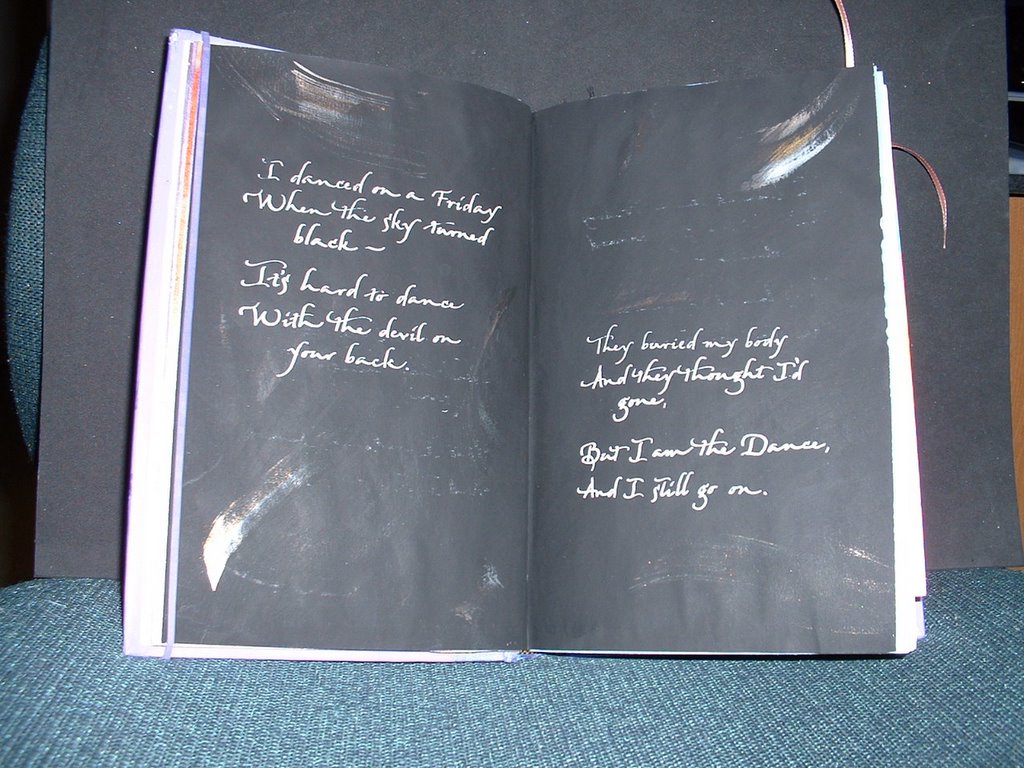
I guess it's not very good form to make excuses for one's work, but this really does look better in real life. I almost hate to even show this picture, because it is such a poor rendition of the original. The background here looks like a dull gray, while it is actually the deep, deep black that you can only get from Golden's black gesso. I wrote the verse with white gouache, and added some dry brush swooshes in metallic colors.

Third Verse


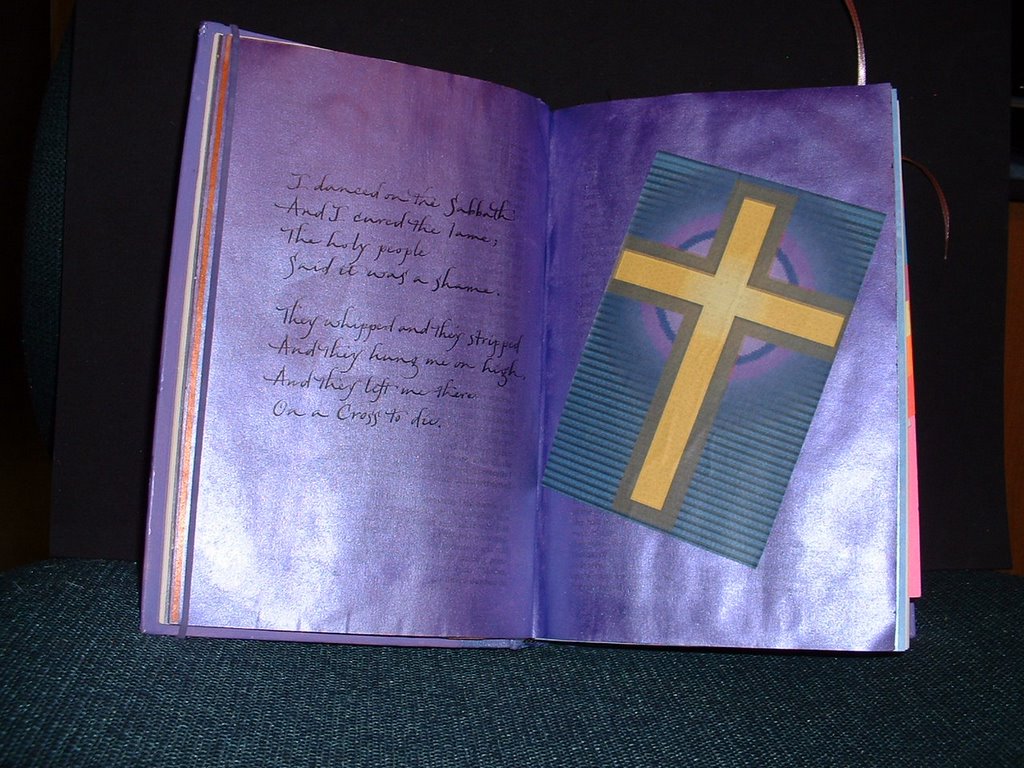
Both pages were painted with metallic purple paint. The cross was a print-out that I chose because it had a nice purple aura in the background and the golden yellow is the beautiful complement of purple.

Second Verse


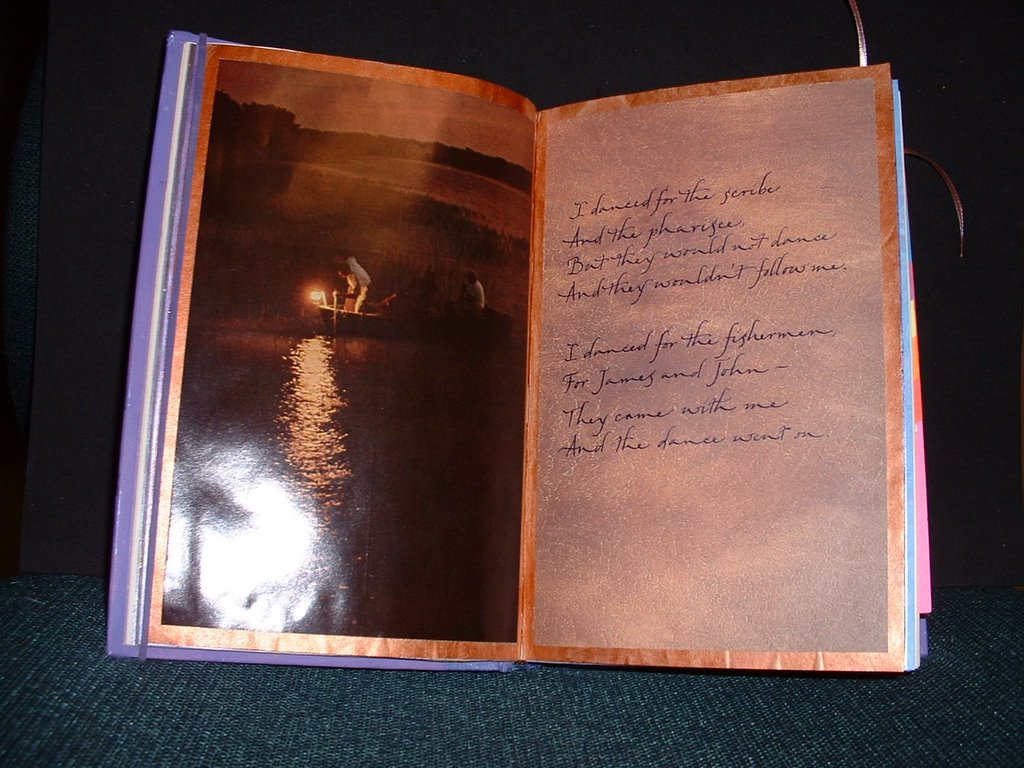
For the second verse of the song, I painted the book's pages with metallic copper paint. The verse was written on a piece of scrapbooking paper that seemed to go well with the photo of the nighttime fishermen.

Chorus


I wrote the chorus on a piece of vellum with Dr. Martin's gold. I hand-stitched it across the top with iridescent thread in purple, aqua, and gold, and then attached it to the page.

1st Verse


This spread is for the first verse of "Lord of the Dance." I wrote it out in an italic variation, using Dr. Martin's Iridescent Copperplate Gold. I just happened to have this piece of scrapbooking paper in my stash, and I was amazed at how well it went with the photograph on the right side.

Lord of the Dance - Title Page


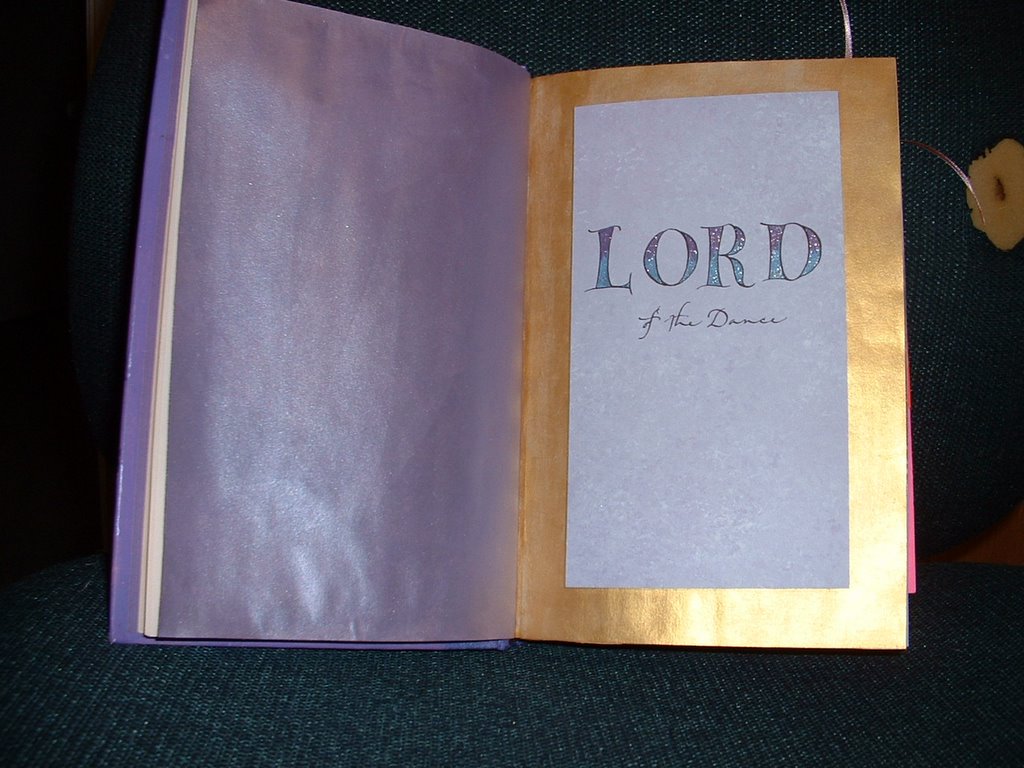
My Imagine8 art group met today. One of our ongoing projects has been an altered book round robin. For this session, I had Peggy's book. Her theme was dance. I decided to do my pages on the verses in the song "Lord of the Dance." This picture shows the title, which I wrote on a piece of lavender scrapbooking paper. The letters in the word "Lord" are versals (which are drawn letters, as opposed to written letters.) They got this name, because they were traditionally enlarged and used to begin verses in illuminated manuscripts. They were usually colored and/or decorated. In this rendition, I used a purple and an aqua Gelly Roll Stardust pen. The book's pages were painted with metallic acrylic paints.

Saturday, November 05, 2005

Reading Journal Entry: The Secret Life of Bees


Some of my favorite books are ones written in a child's voice; not books for children, but lives seen from their perspectives. This is such a book. Lily is 14, and for ten years she has lived with the knowledge that she accidentally killed her own mother. She longs for any sign of love from her embittered father. The only affection she has in the whole world comes from Rosaleen, their housekeeper.

When these two find themselves in more trouble than they can handle due to racial bigotry, they run away to Tiburon, S.C.--a place that apparently had special significance for Lily's mother. They are taken in by three black women--sisters named May, June and August--who are beekeepers. Through calm wisdom and deep spirituality, August empowers Lily to come to terms with the hard truths of her past.

Short passages at the beginning of each chapter are quotes from books on beekeeping. These always relate in some way to what is going on with the human characters, although I often found it necessary to go back and reread the quote after finishing the chapter in order to see it.

Most of the book is written as an adolescent would talk, but there are lyrical moments such as this:
"I realized it for the first time in my life: there is nothing but mystery in the world, how it hides behind the fabric of our poor, browbeat days, shining brightly, and we don't even know it."

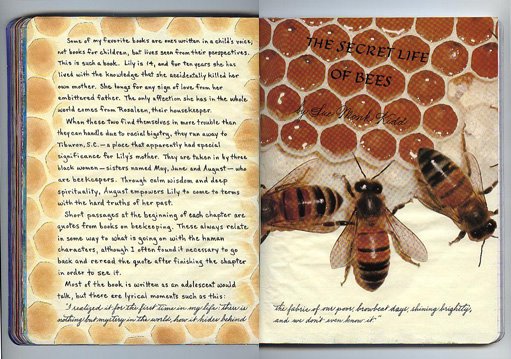
I had a picture of some bees on a honeycomb that I wanted to use. I planned to partially cut around the bees' bodies, so I painted my pages with FolkArt "Vintage White" to match the wax color. I wrote my review with a Pitt F pen. The title was written with black gouache, using a Tape 1 1/2 mm nib, while the author was written with a Nikko nib. I then sprayed with Krylon Workable Fixatif. I've found that on slick surfaces, it helps to hold the gouache in place. To tie the two pages together, I cut a stencil of honeycomb, and made a border with sponge daubers and Fresco "Golden Parchment" and "Tuscan Earth" inks.

I'm sorry my scanner made a checkerboard pattern on the picture. I've noticed that it tends to do that on browns, especially.

Tuesday, November 01, 2005

Inside 4-Needle Book


This shows an inside page in the book with one of the cover pieces extending to the left.
The calligraphic marks are some examples of form themes, ala Hans Joachim Burgert. I made them using a blue Pitt brush pen.

Front Cover of 4-Needle Book

4-Needle Book

This is the cover of a book that I made in a class this past weekend. Sharon Zeugin was the instructor, and she showed us this technique which she learned from Thomas Ingmire, who had learned it from a Japanese man.
Here's how:
1. Fold 3 signatures in half. I used 3 sheets of Arches Text Wove per signature, each 10"x13".
2. Take 2 cover sheets that are the same size as your unfolded pages. Fold each of these about 1" from one of the shorter sides. I used pieces of paste paper from Arches Text Wove that I had made in a class taught by Rosie Kelly.
3. Place the last signature inside the fold of the back cover. Lay the middle signature on top of the cover's flap. Place the first signature inside the fold of the front cover, and lay the flap side down on top of the middle signature.
4. Jog the spine to align all the signatures and clip everything together.
5. Come down about 1" from the top and lay two fingers across the spine. Mark with a pencil on either side of your fingers. Repeat at the bottom of the spine.
6. Use an X-acto knife to score the pencil marks across all layers.
7. Remove the clips and slice individual sections at score marks about 1/8" deep with the knife. Check to be sure it cuts through to the center page. Take care to keep the signatures in order.
8. Measure 2 pieces of waxed linen thread, each 2 1/2 times the length of the spine. (Heavily-waxed thread will help hold the needles in place when they're dangling as you work.)
9. Place a tapestry needle on each end of each thread, for a total of 4 needles.
10. Push needles from one thread through the 2 holes at the top of the first signature, coming from inside the fold. Repeat at the bottom holes with the other thread & needles. Try to keep the ends of the threads equidistant.
11. Attach the middle signature by sewing from outside of fold to inside. Then cross each pair of needles over and out their partner's hole to come back to the outside. Be sure your stitches are taut.
12. Attach the last signature & back cover by pushing needles from the outside to the inside. Tie the top 2 threads together with a square knot (rt. over lt & lt. over rt.), placing the knot over the hole that is nearer to the middle. Repeat with the bottom threads. Pull the threads perpendicular to the spine as you tighten them.
13. Take the bottom needles and lace under the top stitch, bringing each one underneath from opposite directions. Tighten and tie off in a square knot. Trim ends about 1/4" from knot. Repeat with other needles.
14. Score the cover extensions about 1/8" beyond the pages and fold toward the spine. You can glue the cover extensions at the top and bottom edges to form pockets, or leave them free to serve as book markers. By scoring the back one a bit further away, you can wrap it around and over the front cover, where it can be secured with a ribbon, a paper belt, a button/string closure, etc.

This makes a very sturdy book, and is fast and easy to do. You can add more signatures, attaching them as in Step 11. Try using 2 different colors of thread. Make different sizes. Vary the color of your pages. Mix the types of paper (try adding some mulberry or lace paper.) Attach ephemera to the inside flaps with glue, brads, grommets, or thread (a good place to dangle some beads!)
Thursday, August 18, 2005

Consider the Lilies


This spread was done in a friend's art journal. The pages were handmade paper so they were a bit of a challenge to write on with a pointed nib. The illustrative element was part of a paper napkin that was adhered over a layer of wet matte medium. Can be tricky. Here's how:
1. Decide what part of napkin you want to use. If you want clean lines, cut the shape before separating the layers. If you want a torn effect, that will be more easily done by working with just the top ply from the beginning.
2. Carefully separate the layers of the napkin.
3. Place the napkin where you want it on the spread.
4. Holding it in position, lift one edge and paint matte medium on the page with a wide flat brush. Try not to get any on the napkin itself as it will immediately curl and be very hard to control.
5. Carefully roll the napkin back into place and gently pat it down with the brush. Be very careful as the napkin is easily torn while damp. You will probably get some wrinkles. Don't fret. These just add to the charm!
6. If working with a large piece, you should apply only a small area of medium, press down one part of design, then apply a little more medium, etc.
7. If the design is to go across the gutter, use something stiff and very thin (less than 1mm thick) to press it down between the pages. Be gentle. Get it in securely but don't press too hard as you could damage the binding, as well as tear the napkin.
8. With the stiff strip holding the napkin in the gutter, carefully lift one side of the napkin and with the brush begin applying medium from the gutter out toward the edge of the page. Work quickly as the medium dries fast.
9. Repeat the process for the opposite page, although you won't need the stiffener anymore.
10. After a few minutes when it feels dry, you can remove the wax paper that was protecting the rest of the pages in the book. If you brushed the matte medium all the way to the edge of the book pages, there may be dried fragments that you will need to trim off with sharp scissors.
11. Leave the book open to dry, ideally overnight. It will feel dry in just a few minutes, but if you must close it before the next day, be sure to insert a clean piece of wax paper between the napkined pages.